This Christmas tree craft is pretty and can be used in several different ways for the holidays.
The holidays are an awesome and fun time for most people, especially kids.
Since most people are at home these days anyway, it’s a great time to get involved with arts and crafts.
This DIY Christmas tree car craft is simple and easy with only a few supplies that you probably already have at home.
The Christmas tree craft looks great on Christmas trees. You can also use it as decor on gift bags or homemade gifts.
Scroll down for a list of supplies and full instructions for creating the Christmas tree car craft. Don’t forget to download the template before you get started.

This post may contain affiliate links, meaning we will make a small commission if you purchase through those links. Read full disclosure HERE.
How to Make a Christmas Tree Car Craft
Christmas Tree Car Craft Supplies
Christmas Tree Car Craft Instructions
Before you get started, download the car craft template HERE.
Christmas Tree Car Craft Step 1
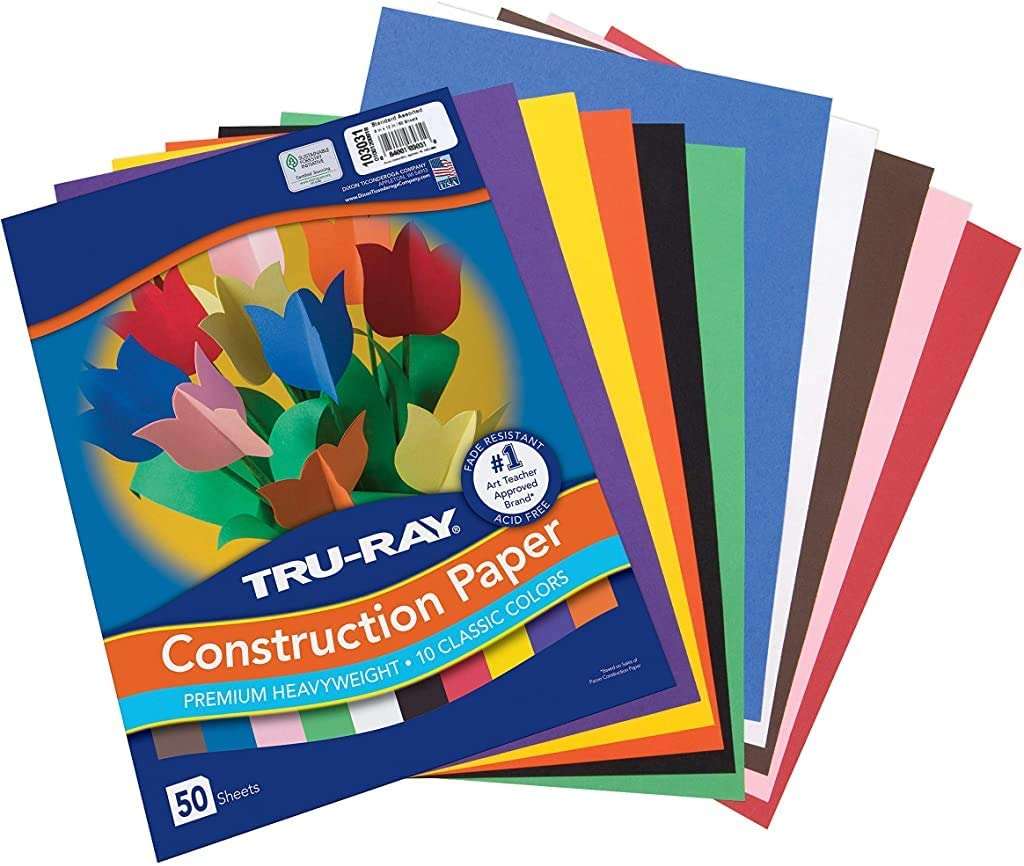
Select red, white, black, and gray craft papers for the car craft. Select green-colored craft paper for the Christmas tree.
Trace the template patterns on the selected papers (car base on red, big circles on black, small circles on white, strip and half-circle pattern on gray colored paper. Cut out the traced patterns nicely.

Christmas Tree Car Craft Step 2
Stick the small white circles in the center of the big black circle cutouts. Use a pen to draw a small dot in the center of the white circle.
Or you can draw any other pattern you like for the paper wheels.

Christmas Tree Car Craft Step 3
Stick the gray strip along the bottom straight end of the car base.

Christmas Tree Car Craft Step 4
Stick the half-circle cutout within the top half-circle part of the car base.

Christmas Tree Car Craft Step 5
Stick the small oval-shaped piece (front light of the paper car) to the front side of the car base. Attach the paper wheels along the bottom side of the car.

Christmas Tree Car Craft Step 6
Attach both paper wheels to complete the paper car craft. Use a pen to draw outlines of the car window (half-circle).

Christmas Tree Car Craft Step 7
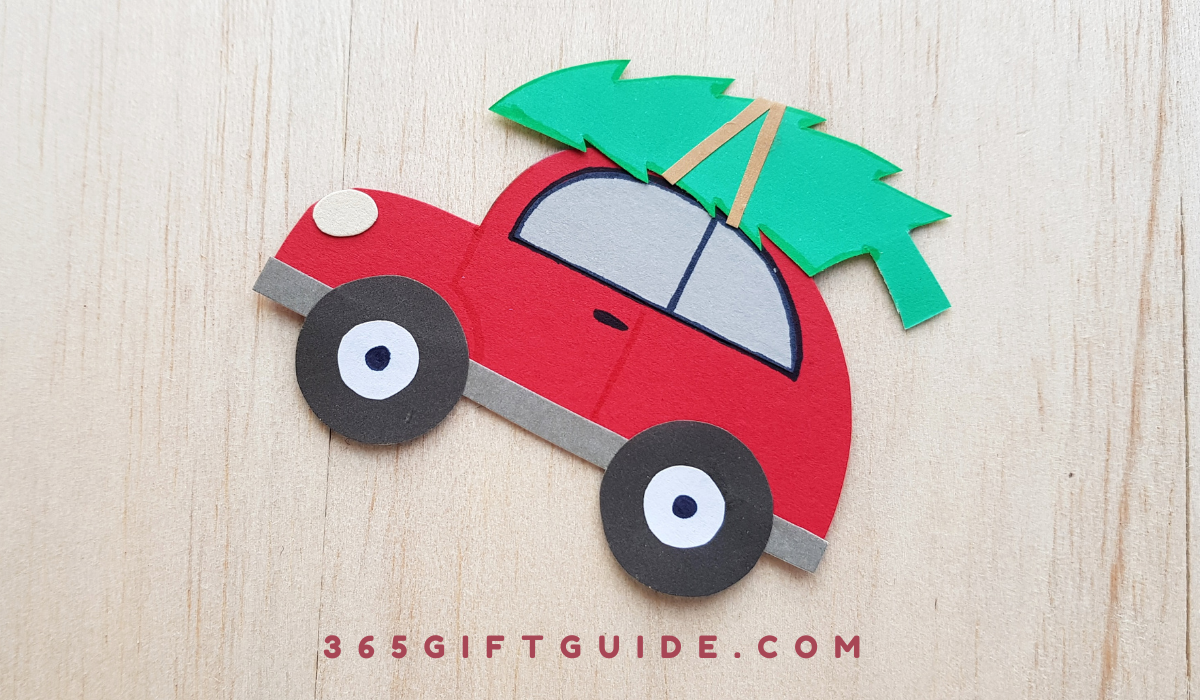
Attach 2 thin strips criss-cross wise on the tree and then stick the tree to the top side of the paper car to complete the craft. The end result should look like below.

I hope you enjoy making it! Stay tuned for more crafts and activities from 365 Gift Guide plus a New Year giveaway coming soon!

DIY Christmas Tree Craft
This simple DIY car craft can be hung on the tree or used as a tag on homemade gifts and cards.
Materials
- Colored craft papers
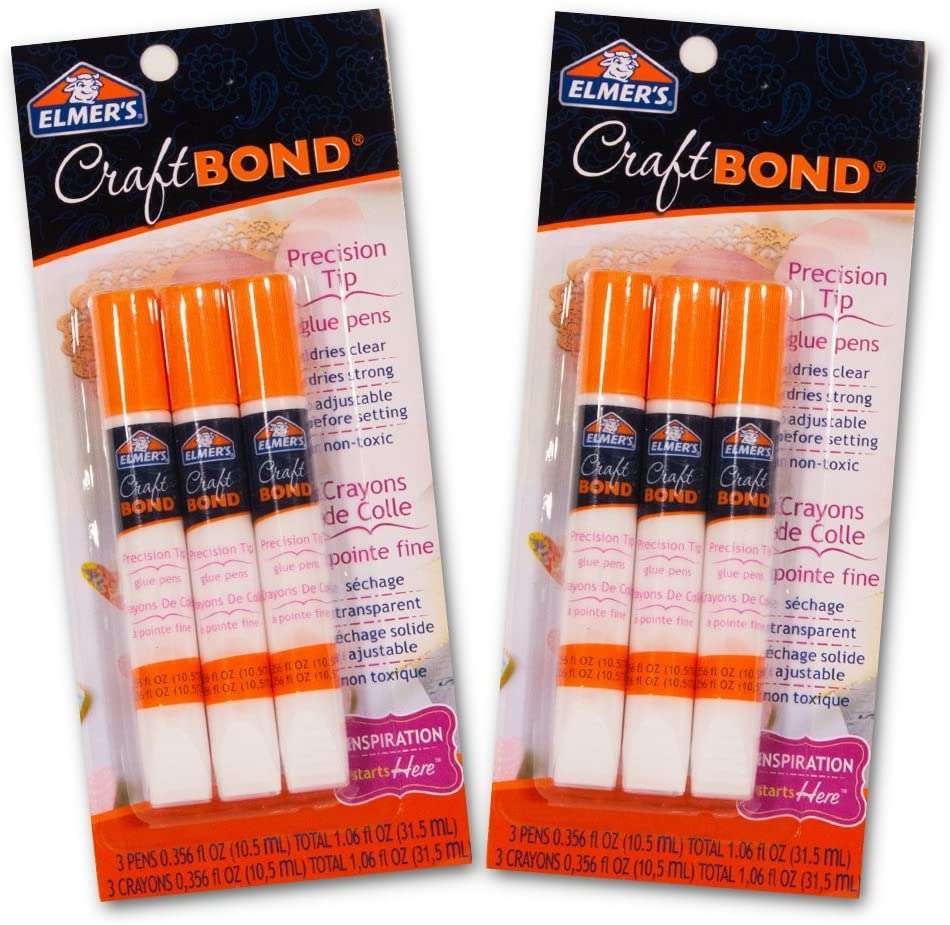
- Craft glue
Tools
- Pencil
- Craft scissors
Instructions
- Before you get started, download the car craft template HERE.
- Select red, white, black, and gray craft papers for the car craft. Select green colored craft paper for the Christmas tree.
- Trace the template patterns on the selected papers (car base on red, big circles on black, small circles on white, strip and half-circle pattern on gray colored paper. Cut out the traced patterns nicely.
- Stick the small white circles in the center of the big black circle cutouts. Use a pen to draw a small dot in the center of the white circle.
- Or you can draw any other pattern you like for the paper wheels. Stick the gray strip along the bottom straight end of the car base.
- Stick the half-circle cutout within the top half-circle part of the car base.
- Stick the small oval-shaped piece (front light of the paper car) to the front side of the car base. Attach the paper wheels along the bottom side of the car.
- Attach both paper wheels to complete the paper car craft. Use a pen to draw outlines of the car window (half-circle).
- Attach 2 thin strips criss-cross wise on the tree and then stick the tree to the top side of the paper car to complete the craft. The end result should look like below.
Recommended Products
I earn from qualifying purchases through my links at no extra cost to you. Thanks for your support!

Abi started 365 Gift Guide as a hobby to curate the best gift ideas for all occasions. It has become a popular online destination where you can find gift ideas for every occasion from the usual to the unusual. You’ll never be stumped for a gift idea again! Popular categories – AMAZON WISHLISTS | CHOCOLATE GIFTS | COUPLE GIFTS | CHARCUTERIE GIFT BASKETS
This craft is super adorable. It’s always nice to do things like this during the holidays.
This is so cute and one I would so love to make thanks for sharing.
If you make, do share your pictures. Thanks 🙂
cute and so easy to make.
This is so adorable. Great as a gift tag!